Our Services

How to Prep Walls for Painting After Removing Wallpaper
February 23, 2023
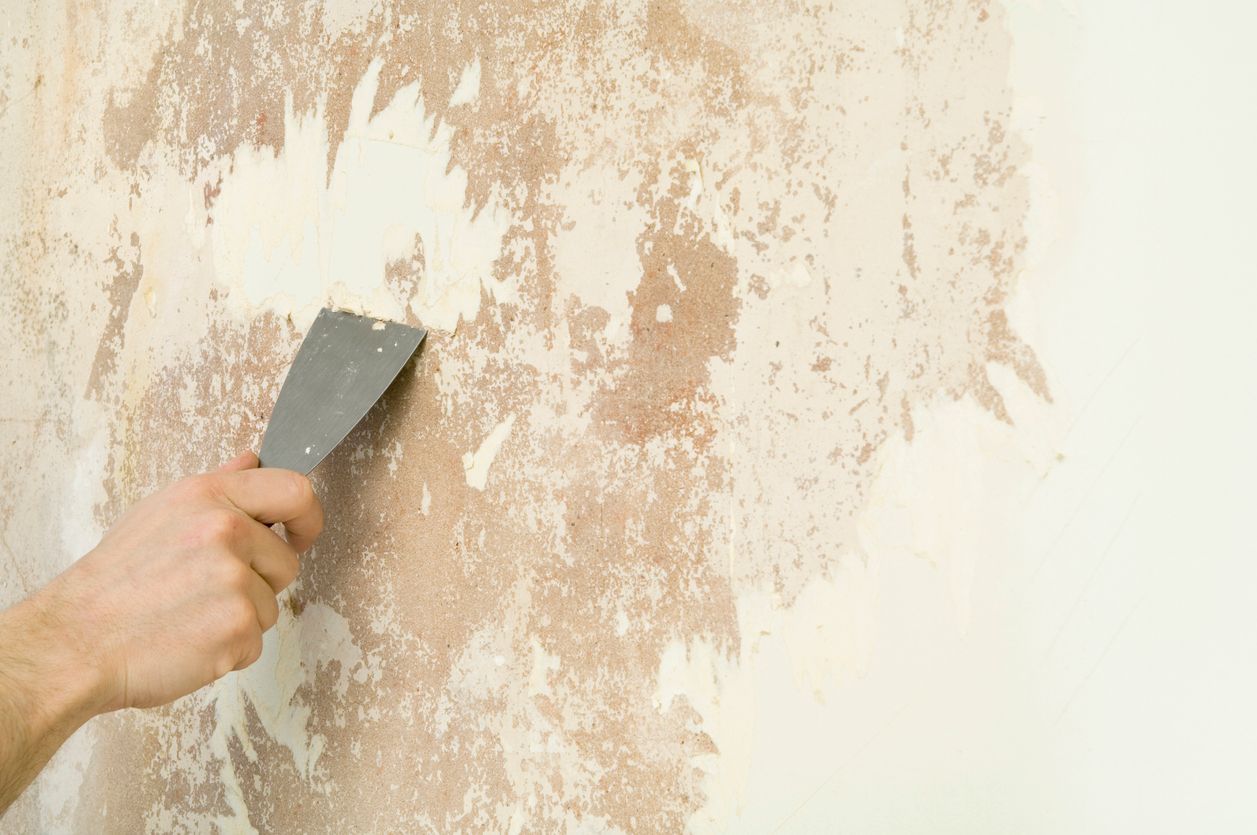
You've successfully gone through the hassle of taking off the wallpaper – steaming it with a steamer and scraping it off with a putty knife - but find the wall beneath has leftover residue, holes, or uneven surfaces – things are not looking so smooth. So how do you bring the wall back to its initial smoothness? This article gets you one step closer to achieving a smooth paint finish by getting you to grips with a comprehensive guide on preparing walls for painting after wallpaper removal.
Get Your Walls Ready For Paint
Remove Wallpaper Glue
There are three modes of wallpaper installation:
- Peel and stick wallpapers – they are self-adhesive
- Non-pasted – applied using heavy-duty paste
- Pre-pasted – you add water to the wallpaper, and it's ready for installation
When removing the non-pasted wallpaper, some residues are bound to be left behind. Scrubbing away the remaining layer of adhesive can be a messy job, but in the end, it's worth the time and effort. To do the job efficiently, you'll need the following:
- A putty knife
- Painters' tape
- A bucket containing the cleaning solution - hot water, one teaspoon of dishwashing liquid, 1 cup of distilled white vinegar
- Cellulose sponge
- Microfiber clothes
- Stepladder
- Plastic sheeting
- A pair of dishwashing gloves
To clean, put on gloves, dip your cellulose sponge in the cleaning solution, and work from the top down. Keep wetting the sponge as you move down the wall and focus more on areas covered with the glue. After scrubbing and cleaning the wall with the cleaning solution, rinse the wall with clean water and allow it to air dry.
Note: Removing the glue residues requires a considerable amount of water, so it's imperative to mask off power outlets and wall switches to avoid electrical short circuits. Also, if the wall is built with drywall, avoid using too much water as it could get saturated and result in damage from scrubbing.
Fill Holes and Cracks
Once you've inspected your walls and noticed unsightly cracks and holes, it may be wise to fill them before painting to ensure a smooth finish. However, before adding a filling material, clean the holes or cracks properly with either a paintbrush or a handheld vacuum cleaner to remove any loose material – dirt prevents the sealant from sticking to the wall.
When filling, plasterboard or plaster can be filled with Polyfilla and smoothened with a putty knife; however, if you are dealing with concrete, pre-mixed concrete can be an excellent adhesive – be sure to match the texture with that of the surrounding.
Sand the Walls
When preparing walls for painting, sanding helps achieve an even lump-free surface by removing imperfections such as ridges and bumps. When sanding drywall, use fine-grit sandpaper for better results – sandpaper with grit below 100 can damage the wall. For plaster and concrete, you can start with a medium grit sandpaper of -80 – and finish off with super fine grit of 240 for an ultra-finishing.
Clean the Walls
The paint will only adhere well if the wall is clean and dry. Therefore, to achieve a more professional finish, you should wash your walls with warm water and mild soap to remove any stains or dirt. Once all the walls are clean, give a final rinse to remove soap traces. Finally, once satisfied with the final look, allow the walls to dry completely before applying a primer.
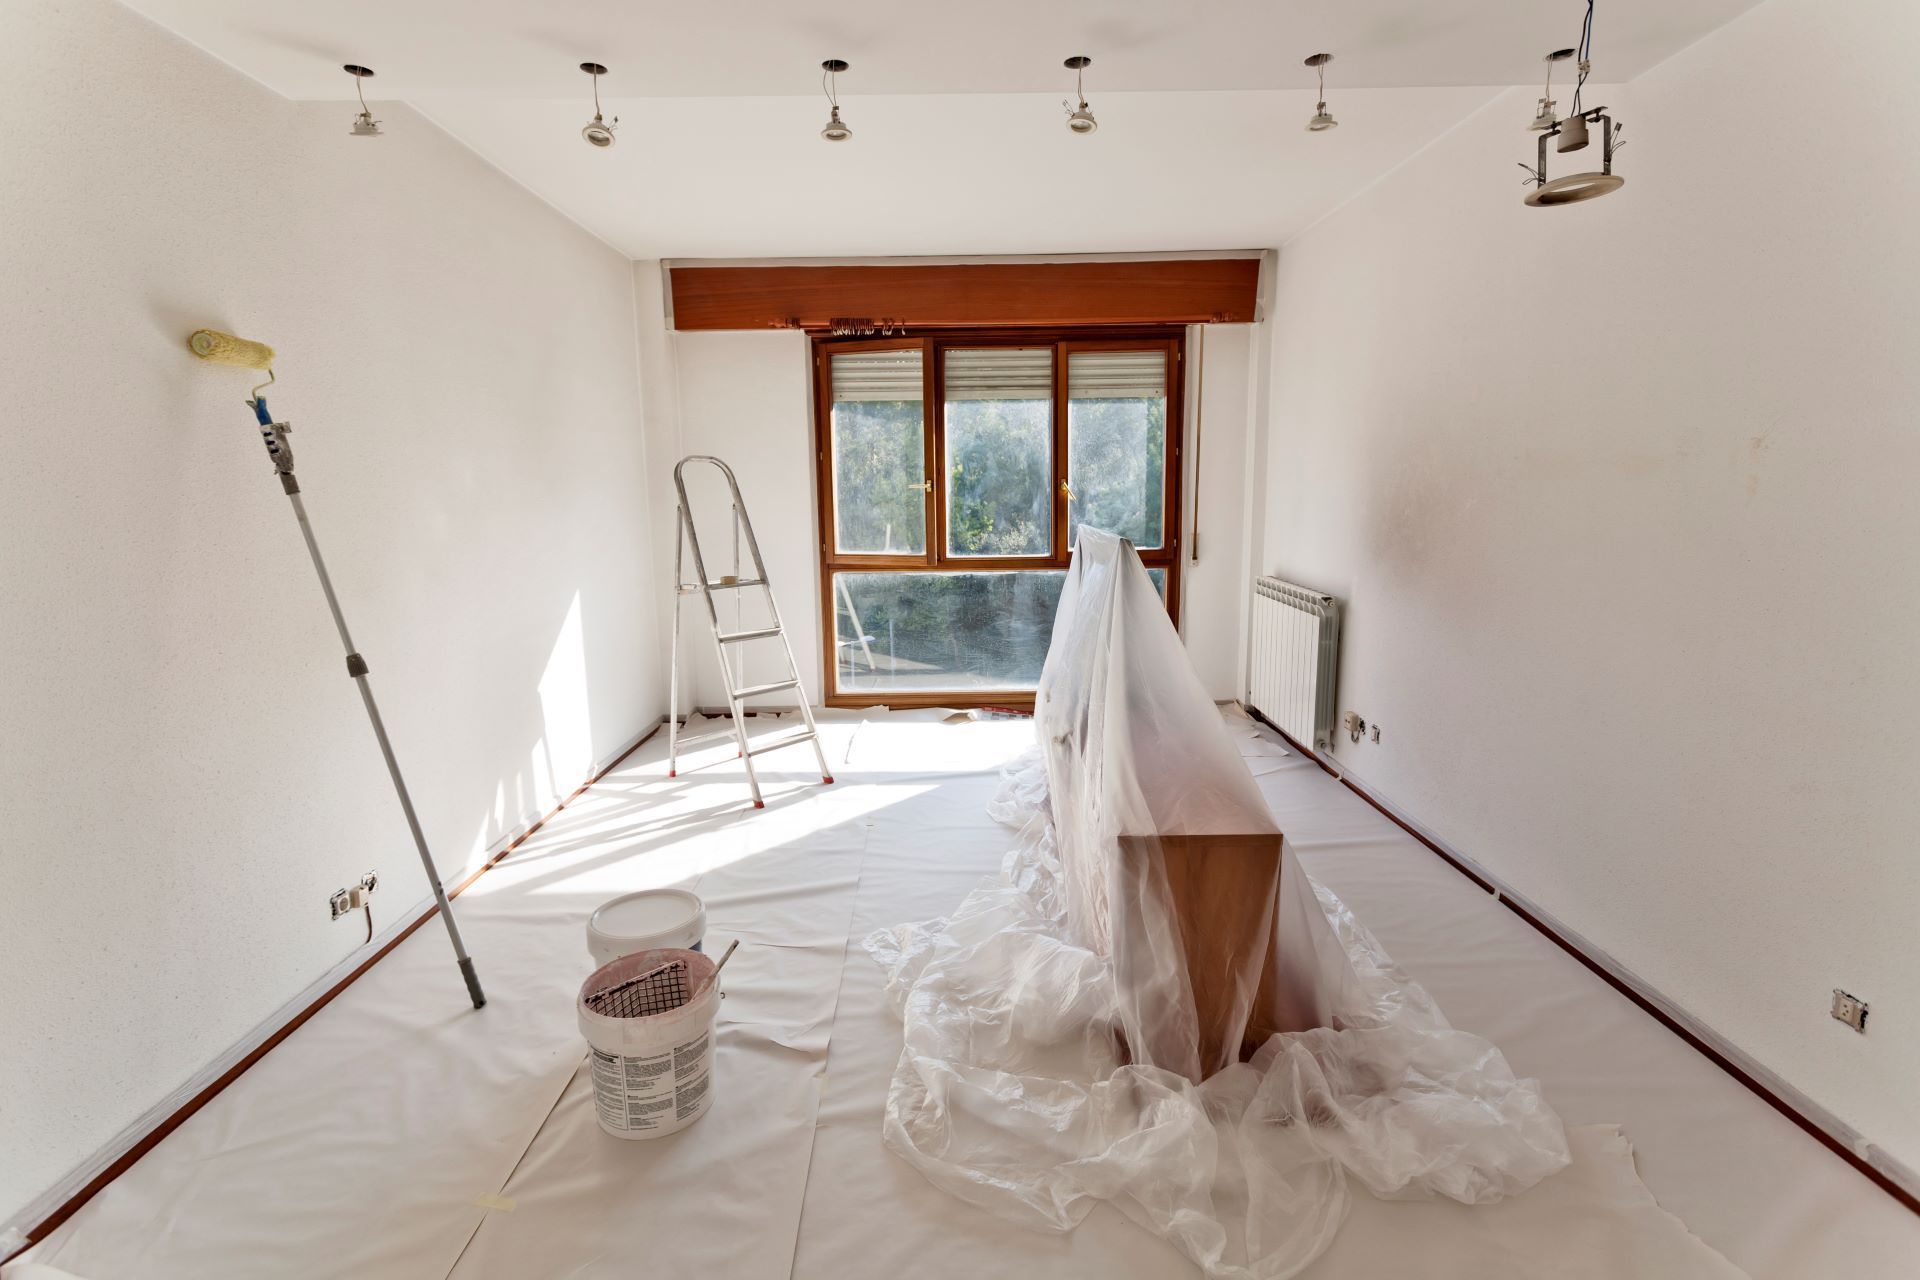
How To Apply Primer
A primer is designed to help ensure maximum adhesion of subsequent painting. When preparing walls for painting, priming can help improve sheen and stain coverage. There are two forms of primers: water-based and oil-based primers. To properly prime your surfaces, you should:
- Choose a primer: Oil-based primer is ideal for covering porous or stained surfaces.
- Use painter's tape to mask off areas, such as fixtures and moldings, that you do not intend to paint.
- Cover the floor with a plastic sheet to protect the floor from paint splatter.
- Using a 2–3-inch brush, start by applying the primer to the edges and corners before starting on other areas.
- Pour the primer on a paint tray, then roll the roller on the primer.
- Paint in a V or W shape instead of a vertical strip – it helps prevent uneven coats of paint.
- 2-3 coats of primer will ensure good coverage between the wall and the subsequent painting.
Mistakes To Avoid When Preparing Walls For Painting
- Sanding the wall before the filling material dries
- Applying the primer before the wall dries
- Painting on a poorly prep surface
- Leaving fixtures exposed when cleaning the walls
- Using poor-quality filling material
Painting Tips
- Invest in quality brushes, rollers, and painter's tape
- Know the ideal nap for your wall
- Cover anything you don't want to be painted
- Consult an interior designer to help you choose the ideal color pallet for your space
- Let a professional painter do the work for you
Let Cougar Painting Help!
Do you need help with your wallpaper removal and painting project? We are the professionals to call! At Cougar Painting, we are the premier painting service provider in the Kansas City area. We offer a wide range of services – from interior and exterior painting to commercial painting, along with wallpaper removal and cabinet refinishing!
Our highly experienced and trained team arrives promptly at the scheduled time and guarantees nothing but the best. Contact us today to schedule an appointment.
CONTACT US TODAY!
RECENT POSTS


Have we painted in your neighborhood?
Areas We Serve
Belton, MO
Olathe, KS
Shawnee, KS
Mission, KS
Grandview, MO
Kansas City, KS
Springhill, KS
Prairie Village, KS
Louisburg, KS
Gardner, KS
Lenexa, KS
Lees Summit, MO
Paola, KS
Leawood, KS
Kansas City, MO
Let's get your property a fresh look.
Privacy Policy | Web Design by Tekkii